
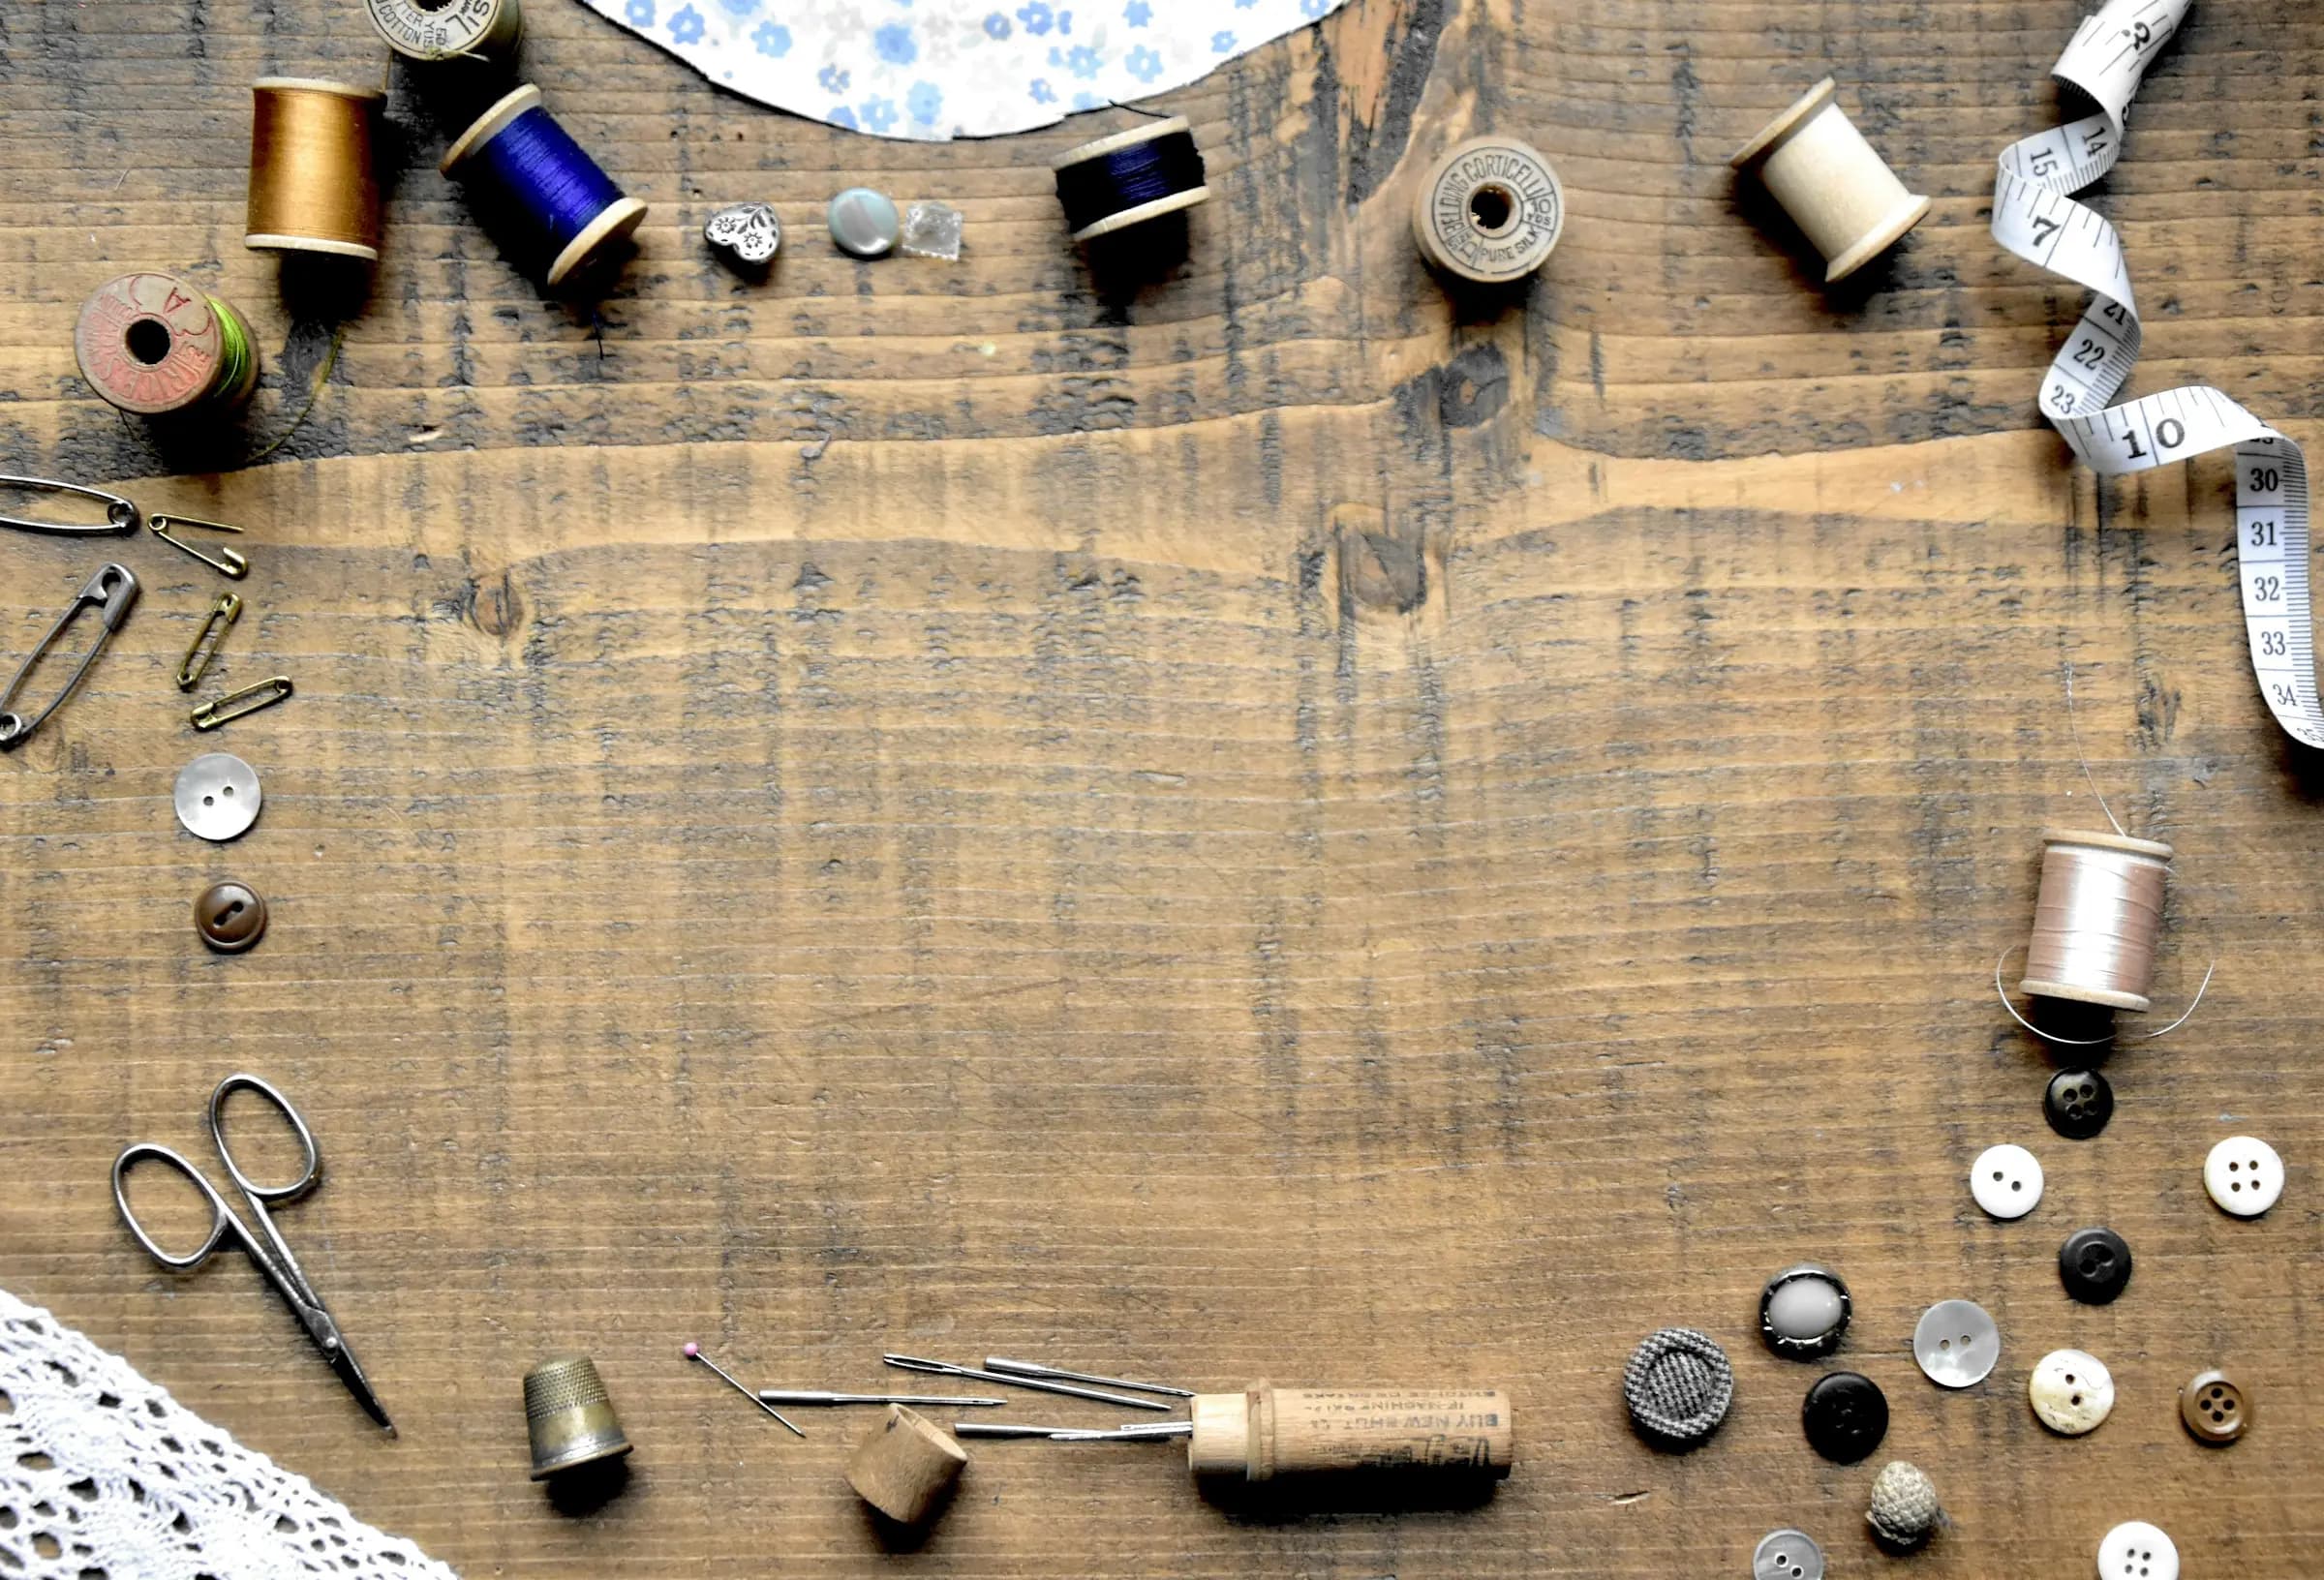
Replacing a lost button takes a needle, thread and about 10 minutes, and most of what decides whether it stays on is settled before the first stitch. A shirt button closes over one thin layer of cotton; a coat button closes over a thick wool front. Sewing both the same way is a common reason a replacement button tilts, puckers the placket or falls off again within a season. What changes between them is the height of the gap left under the button, not the number of stitches, and that holds for two holes, four holes or a molded loop on the back.
▌ SewingNovember 11, 2026
How to sew a button by hand in 6 easy steps
A doubled thread, a toothpick spacer and a wrapped thread shank keep a hand-sewn button from popping off
The Practical Crafter editorial team · 9 min read

A button sewn tight against the fabric is the one that pops off first: every time you fasten it, the edge of the buttonhole pulls on the thread. The fix is a thread shank, a short stem of wrapped thread between the button and the fabric, so the button sits on top of the buttonhole layer without strain.

Needle, thread and a spacer
A button repair takes a hand-sewing needle, thread, small scissors and a spacer, something thin that holds the button off the fabric while you stitch. The University of Kentucky Cooperative Extension's guide to buttons and buttonholes recommends a double strand of all-purpose, topstitching or buttonhole thread, with the heavier threads for heavier fabrics.
| Supply | What to use |
|---|---|
| Needle | A hand-sewing needle (sharps) that slips easily through the button's holes |
| Thread | All-purpose polyester for shirts and pants; topstitching or buttonhole thread for coats and denim |
| Spacer | A straight pin for thin fabrics, a toothpick for coats and jeans |
| Marker | Tailor's chalk or a washable fabric pen |
| Seam ripper (optional) | For picking out old thread |
| Thimble (optional) | For pushing the needle through thick layers |
The spacer sets the height of the shank, which the Kentucky guide says should match the thickness of the fabric layers the button fastens through. If you are just learning how to hand sew, a button is a sensible first repair: the small notions kits sold at Walmart, Michaels and Amazon hold everything on the list.
Sewing a flat button in 6 steps
A flat button goes on with a doubled thread anchored under the spot it will cover, four to six passes through each pair of holes over a spacer, a few wraps around those stitches to form the shank, and a knot on the wrong side. The same six steps work for two-hole and four-hole buttons.
Lay the garment right side up on a table, with the button position facing you. In every step, "up" means the needle travels from the wrong side of the fabric toward you, and "down" means it goes away from you, into the fabric.
- Mark the spot and thread the needle. Use the old thread holes if there are any. Otherwise, close the garment, push a pin through the buttonhole into the layer underneath and chalk that point: at the end of a horizontal buttonhole nearest the edge, or near the top of a vertical one. Cut about 36 inches (91 cm) of thread, thread the needle and pull until the two ends meet, so you sew with a doubled strand about 18 inches (46 cm) long. Tie the two ends together with any end knot.
- Anchor the thread under the button spot. Push the needle down about 1/8 inch (3 mm) from the mark and bring it up at the mark, then pull until the knot stops against the fabric. Lock it with one more tiny stitch the same way, down beside the knot and up at the mark. The knot stays on the right side, where the button will hide it, and the thread comes up at the mark.
- Thread the button and place the spacer. Push the needle up through one hole from the underside of the button and slide the button down the thread until it rests on the mark. Lay the pin or toothpick across the face of the button, between the holes, and hold it there with your thumb. Set it at a right angle to the stitches; for an X, lay it straight across the center so it crosses both arms diagonally.
- Stitch through the holes four to six times. Carry the thread over the spacer and take the needle down through the opposite hole and every layer of fabric. Bring it back up through the fabric within a thread or two of where it first came out, and through the first hole again. That is one pass; make four to six through each pair of holes, keeping each one this close to the last so the stitches stack in one spot. A two-hole button has one pair. On a four-hole button, work one pair and then the other for two parallel bars, or the two diagonal pairs for an X.
- Remove the spacer and wrap the shank. After the last pass goes down, bring the needle up through the fabric but not through the button, so it comes out in the gap under the button. Slide out the spacer and pull the button away from the fabric to take up the slack. Wind the thread snugly around the stitches under the button three to five times, working from the button down toward the fabric.
- Tie off on the wrong side. Push the needle down through the fabric at the base of the shank. On the wrong side, take a small stitch through the threads behind the button, pass the needle through the loop before you pull it closed, and repeat once for a second knot. Trim the thread to about 1/4 inch (6 mm).

The University of Arkansas extension service's illustrated button guide follows the same order, with three to five wraps for the shank and two knots on the back. One exception: a purely decorative button that never goes through a buttonhole can be sewn flat, with no spacer and no shank.
Sewing on a shank button
A shank button has a small loop or stem molded on its back, so the shank is already built in and you skip the spacer and the wrapping. You still use a doubled thread with the same anchor and the same tie-off. The difference is that every stitch goes through the loop on the back instead of through holes.
Anchor the thread at the mark as in step 2. Turn the button so the hole through the shank runs in the same direction as the buttonhole; the stitches then lie along the slit instead of spreading it. Pass the needle through the shank, down into the fabric directly under it, and back up beside the first stitch. The Kentucky guide calls for six passes. Keep them short and under the loop so the button does not sag. Tie off as in step 6.
On a thick coat, a built-in shank can be too short and strain the buttonhole. The Kentucky guide's answer is to leave some give in the thread, or sew over an object, so a short thread shank forms under the molded one; wrap it as in step 5.

Why a button pulls loose or puckers the fabric
When a button hangs loose, tilts or puckers the fabric, turn the garment over and look at the stitches. A wide spread of thread means the passes wandered instead of stacking. Fabric gathered under the button means the passes were pulled too tight or sewn without a spacer. Thread frayed at the shank was too light.
Wandering passes leave the button on a wide, flat base, so it wobbles. Pick them out and start again. A pucker also means starting over, this time over a spacer, drawing each pass snug rather than tight. Frayed thread calls for a heavier thread (see the next section). If the doubled thread keeps knotting, pull it over beeswax before you start, as the Kentucky guide suggests.
On loose weaves and knits, the knot can slip through the fabric. Take the locking stitch twice, and on a knit, fuse a small square of interfacing to the wrong side first.
Buttons on coats, jeans and children's clothes
Buttons that take heavy strain need sturdier materials, not just more passes. On wool coats, denim and canvas, use topstitching, buttonhole or carpet thread, which the University of Kentucky guide recommends for heavier fabrics, and back the button with a small flat stay button on the wrong side so the pull lands on two buttons.
The stay button goes on in the same passes as the outer one. Each time the needle reaches the wrong side, take it through one hole of the stay button, then back up through the next hole and the fabric. The stay button sits flat; only the outer button gets a shank.
Frequently asked questions
Can you sew on a button with a sewing machine?
On some models, yes. The Kentucky extension guide notes that some machines can sew on two-hole and four-hole buttons; your manual lists the foot and settings. A button that goes through a buttonhole still needs a shank, so the guide suggests stitching over an object to raise it. Buttons with a molded shank go on by hand.
Can you use dental floss to sew on a button?
Unflavored dental floss is a common fix for buttons on work jackets and outdoor gear because it is strong. It is thicker than sewing thread, so it may not fit through a small shirt button twice. On everyday clothes, buttonhole or topstitching thread in a matching color looks neater.
How do you remove the old thread before sewing a button back on?
If the button is still hanging on, slide the point of a seam ripper between the button and the fabric and cut the threads there. Then pull the loose ends out from the wrong side, with tweezers if they are short. Work slowly and let the blade meet only thread: a nick in the fabric right at the button spot is hard to hide.
What color thread should you use to sew on a button?
Match the thread to the button for the neatest look on the right side, since the stitches show across the top of a holed button. If the button and the fabric are very different colors, pick the button's color anyway and accept a small block of contrasting stitches on the wrong side, where every pass shows. Contrasting thread works too when you want the stitches to show as a detail, on a cardigan for example.
Where do you find a spare button for a shirt?
Many shirts come with a spare sewn to the care label or inside the front placket near the hem; coats often ship with one in a small bag on a tag. If there is no spare, move the bottom button, which is usually tucked in, to the missing spot and replace that one instead.
Once the six steps feel familiar, sew a four-hole button onto a scrap of denim with an X pattern and a toothpick spacer, then try a shank button on a heavier scrap, matching the shank to the buttonhole. Then check your closet for loose buttons and reinforce each one before it falls off, starting with your coats. The next repair to try is a hand-stitched hem on a pair of pants, which uses the same doubled-thread anchor and tie-off you just practiced.
▌ Topics · sew button by hand · thread shank button · sew shank button · four-hole button


